FREE STANDARD SHIPPING UK ON ORDERS OVER £40

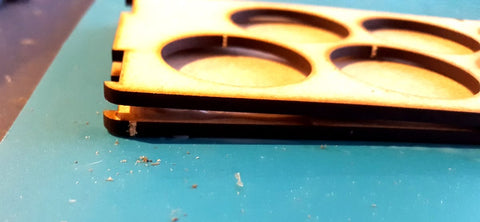
I did have thoughts to call this 'When paints attack!' as that's what it has felt like the last few months. Many of you may know that I do occaisional miniature figure painting commissions as well as having a shed load of my own wargaimng miniatures to paint. That means a lot of paints. Games Workshop/Citadel paints, Wargames Foundry, Army Painter, Vallejo and Scale 75 mainly. About 160 dropper bottles plus about 60 Citadel/GW/Wargames Foundry/Coats D'Arms bottles. Oh yes plus Windsor and Newton inks, varnishes, flow agents and retarders. Phew!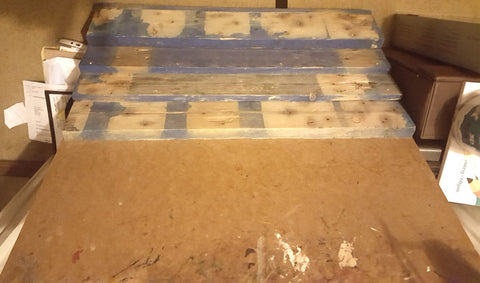 Now I had done what I thought was a great home made solution. Here is the previous post where I showed it off. It's done me very well, but now with 2 curious cats and 2 curious children its a bit out of date. One touch and the Domino Effect takes place. So I have been looking for a while to replace it. TT Combat stands stuck out a mile and I ordered 2 x 76 Vallejo style and 1 x 56 Citadel one.
Tip 1:
Measure your space carefully. Not only that they fit but that you still have enough space to paint and for things like pallets and lights.
Have to say Trolltrader did the business in delivering them quickly. But the instructions leave a little to be desired. They aren't too complicated but lay out the bits carefully first and think it through. Obviously I didn't really do that for the first Vallejo one. I wanted it fast!.
TIP 2:
Don't try putting it together on a tray whilst watching TV. You will get glue and MDF everywhere and your partner will give you a battering for sure.
I learnt my lesson and so here are my recommendations based on a Vallejo stand and Citadel stand and the lesson learnt from the first one.
Working Area & Tools
As large a table as possible. I used the kitchen table with some cutting mats laid down to catch PVA drips. You will ideally need.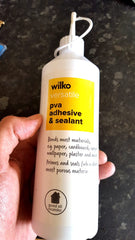 PVA glue - not craft glue proper builders PVA
 Pegs
Pegs
A small flat file
Small craft hammer or similar
Patience
So what about a craft knife or scalpel? Not necessary. With quick double movement each way the pieces come apart nicely. Yes you get small tags especially where you pop out the holes for the pots. But, the holes are plenty big enough if you leave them. I tell you why you should as well. MDF is essentially layers of cardboard, but its tougher than you think. I used a scalpel on the first one and discovered this.
I was trying to remove the tags inside the holes and slipped. Luckily even though I am an old git my reactions are still pretty good and I just sliced open a shallow cut on my finger. But it could have been a lot worse and involved a hospital trip.
How to Put A TT Combat Paint Stand Together
So
1. Get all the parts out for the first one.
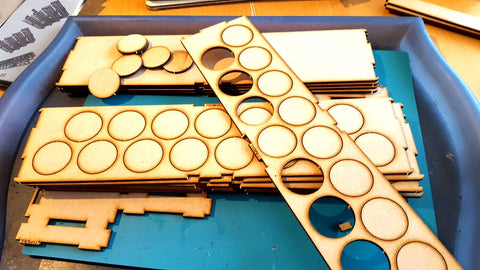
2. Put the plain slats together and the holed sections seperately
 3. Glue the first holed section to the plain base carefully. Line up the edges. PEG IT.
This is important as these are made of wood  product and dont sit entirely flat. Page them together carefully to make sure they are tight and the glue has chance to dry and there are now gaps. Use your finger to
 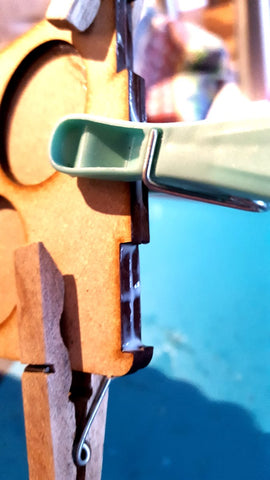 just remove and smooth out and glue that oozes out.
4. Do the same with the two back struts.
4. Leave them alone for at least 2 hours or more. Now glue the uprights and leave for another hour

5. Use the files just to take off a sliver around the ends that fit into the sides and the same for the holes in the sides. Everything fits very tight. This just eases fitting a bit whilst not removeing enough to make them loose.

6. Checking fitting of everything and make sure you glue each piece in same place you tested it.
6. Glue the ends of the pieces you just assembled and the sides and the back struts. Prop them up and let them sit for 10 minutes. This just gets the PVA drying a bit and they will hold better.
8. Start with the lowest holder and fit it into one of the side pieces. Fit each higher one and then the back struts. It helps if you sit the side piece flat so you are pushing down to get stands in.
9. Now this is the tricky bit. You need to fit the other side. Take your time. Have side piece already fitted flat on the surface and the stands sticking up. Carefully line everything up and try and push it one as much as you can. You may need the small hammer just to gently tap everything together. GENTLY! or you will damage it.
10 Let everything dry again
11. Now add the top holed piece to the stands and you are done.
12. Let everything dry overnight at least.

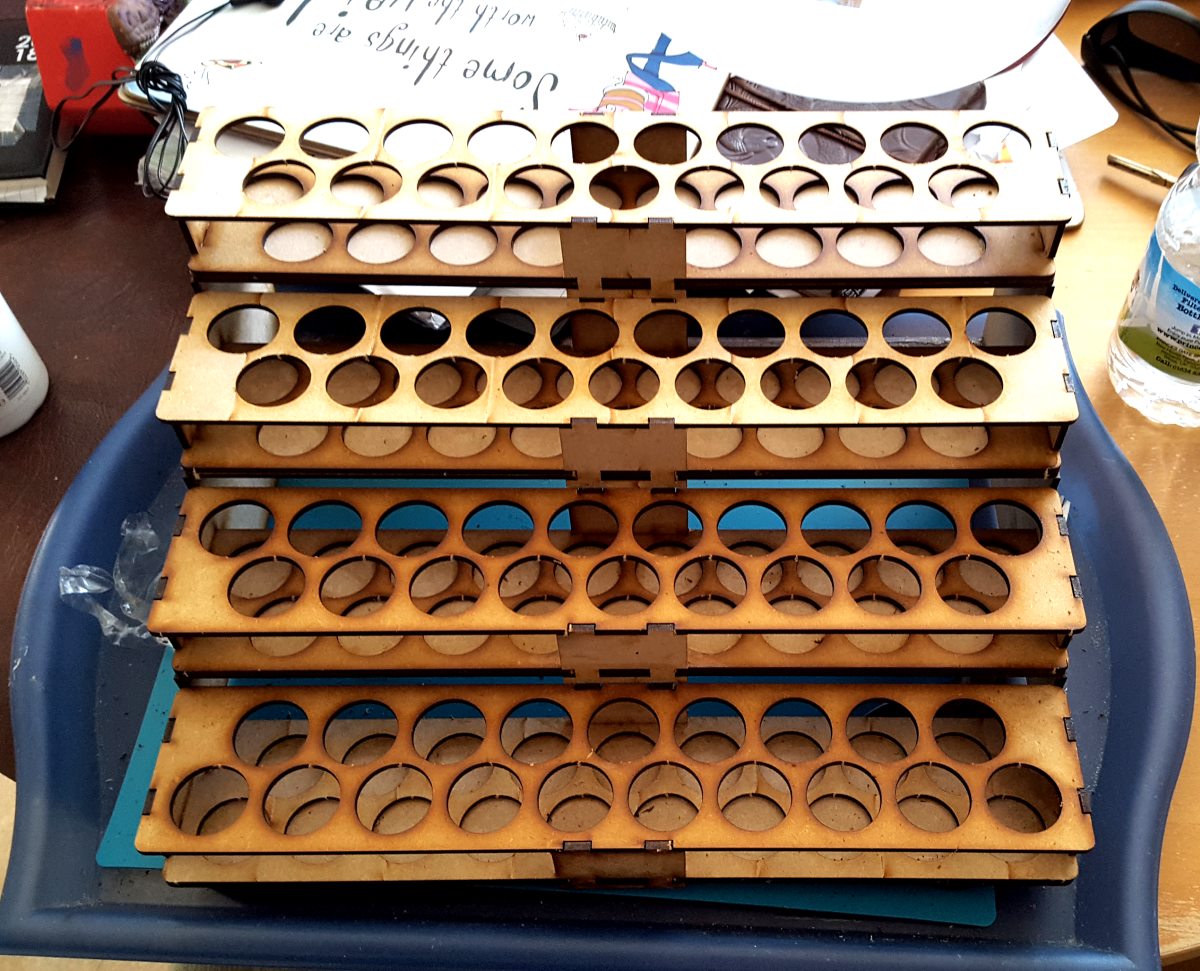
Now I think these are great. They hold the paints fabulously and they won't domino over. Once you have done one you get how they go together best. I actually did two at once a Vallejo and a Citadel one. You can do all gluing of base bits at once as same system.
My only gripe is that the Citadel one is not so well made. It had more warping and some alignment issues. It has different end design too which made fitting side pieces a bit more fiddly. But a little filing sorted it.
Overal great products and look great. Loads of painting space.